How to move emails.
1. Log into your email account
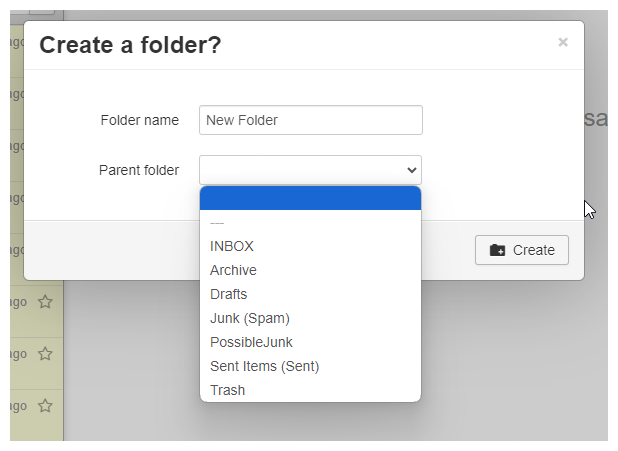
2. Click the folder icon to create a new folder.
3. You can name this whatever you want.
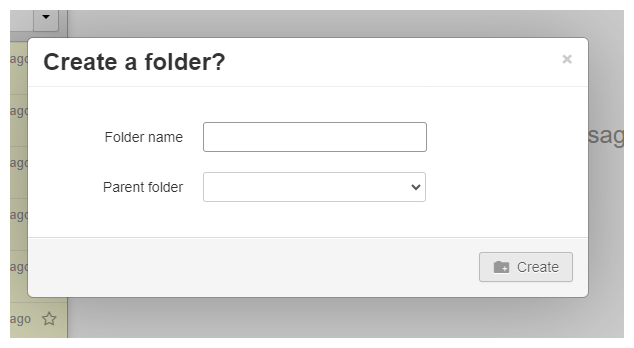
4. You can place this folder in an existing folder if you want. If not, just leave the “Parent Folder” option blank.
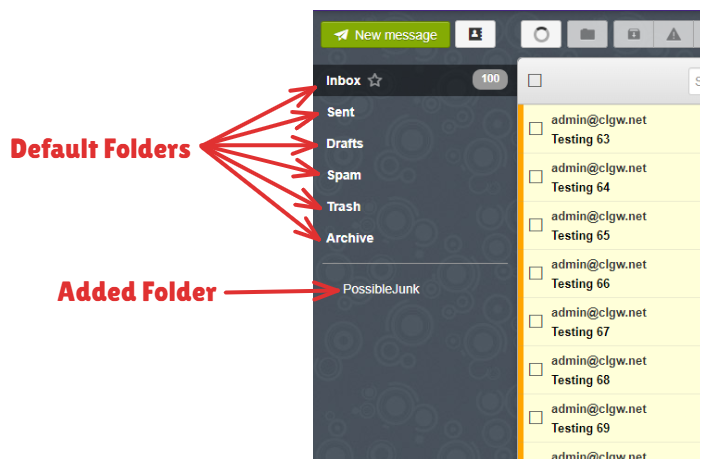
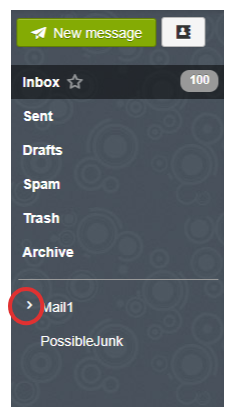
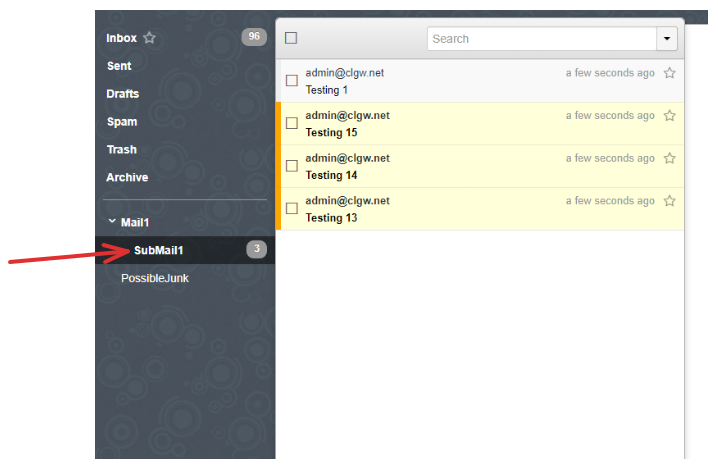
5. Notice the angle bracket besides “Mail1” folder. This means there are other items within this folder.
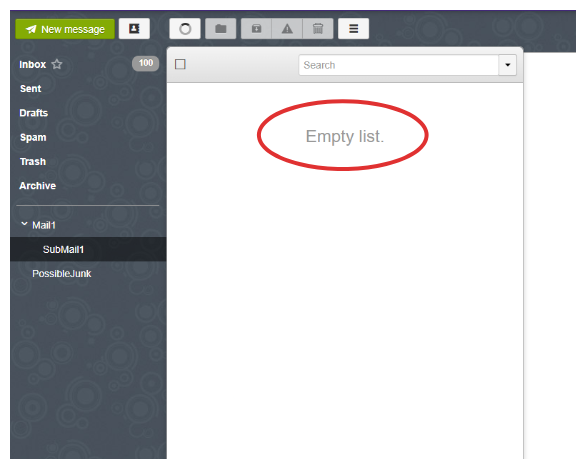
6. There’s nothing in this folder yet, but we will add some emails as examples.
7. In this example I have selected 4 emails to move. Notice the number 4 with the email icon. This tells me how many items I have selected. Once I have the emails selected, I can move them by clicking the folder icon at the top.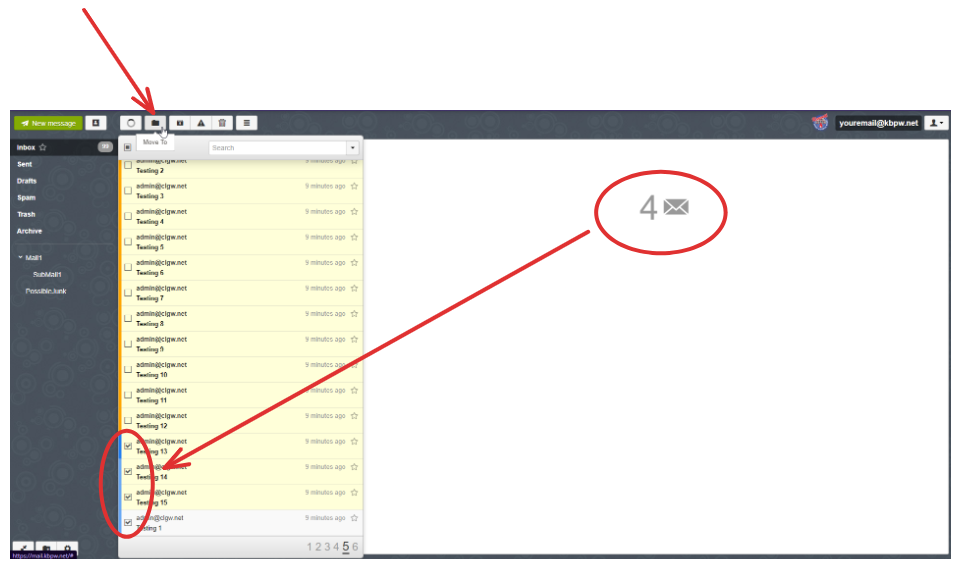
8. This will display once we click “Move.” Go ahead a select a folder to move these emails to in the left.
9. We should see the only the emails we’ve selected earlier. If you have performed this task multiple times, there would be more than what you have selected previously.
**PLEASE NOTE** You cannot move folders to other folders. If you need to move mail to another folder, you need to create the folder first, then move the emails.
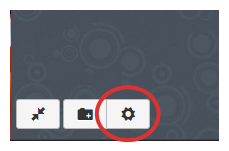
10. An optional way to create folders is to click the gear icon
11. You can create new folders and delete them as well.
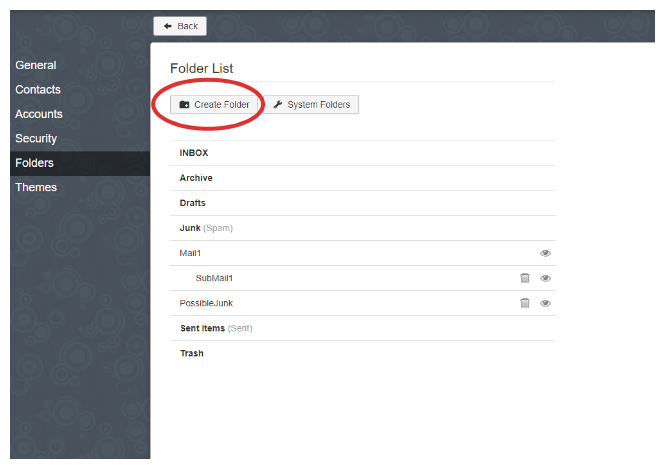
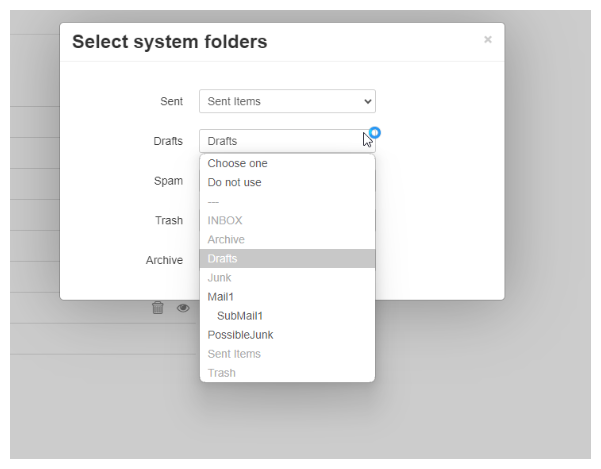
12. The system defaults for Sent, Drafts, Spam, Trash, and Archive are chosen by default. If you would like to change these, there is a dropdown box for each folder.